
Devices today are packed with sensors that gather data about themselves and their surrounding environment. The web platform has evolved to match native apps by incorporating various sensor APIs like Geolocation, and DeviceOrientation Events. This article explores a new API: the Generic Sensor API.
Why a New Sensor API?
Existing sensor APIs lack consistency in how they access and use sensor data. The Generic Sensor API aims to solve this by providing consistent interfaces. According to its spec, the goals are to promote consistency across sensor APIs, enable advanced use cases, and simplify the addition of new sensors.
The API introduces a base Sensor interface, extended by concrete sensor classes. This consistent approach simplifies both adding and using new sensors.
Fusion Sensors
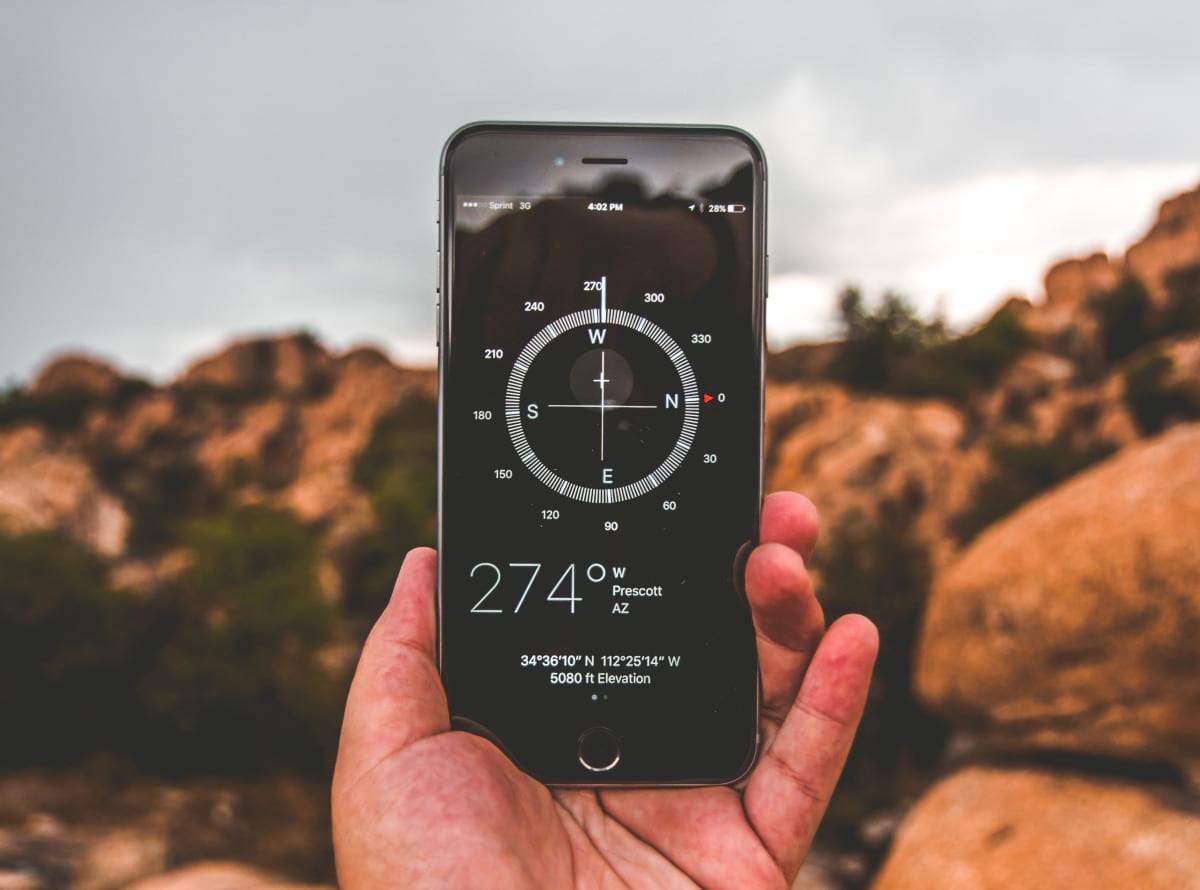
Fusion sensors combine data from multiple real sensors. They create a more robust and reliable virtual sensor by filtering and combining data appropriately. We will build a compass app using the Magnetometer sensor and improve it using the AbsoluteOrientationSensor, which is a fusion sensor that uses magnetometer, accelerometer, and gyroscope data.
Generic Sensor API: Supported Sensors
The API supports a range of sensors, including:
Drafts for future sensors include Geolocation Sensor and Proximity Sensor.
Chrome leads implementation, with motion sensors enabled by default since Chrome 67:
AccelerometerGyroscopeLinearAccelerationSensorAbsoluteOrientationSensorRelativeOrientationSensor
Environmental sensors, disabled by default, can be enabled in Chrome flag settings (chrome://flags):
AmbientLightSensorMagnetometer
Edge and Firefox have partial AmbientLightSensor implementations. Firefox has an open issue to implement the Generic Sensor API, but there's no ETA yet. Check caniuse.com for support for individual sensor implementations.
W3C invites Sensor APIs implementations here.
How to Utilize the Generic Sensor API
The API can only be used on secure (HTTPS) contexts.
The usage pattern is:
- Create sensor
- Define callback function
- Start sensor
- Stop sensor
1. Sensor Creation
Create a sensor using:
sensor = new <SensorName>();
Replace <SensorName> with the desired sensor, such as Accelerometer or AbsoluteOrientationSensor.
Checking for Support
Verify sensor support using:
if (AmbientLightSensor in window) { // Create Sensor }
Alternatively, use a try-catch block:
try {
  // Create Sensor
} catch (error) {
  console.log('Error creating sensor');
  // Fallback, do something else etc.
}
Setting Sampling Frequency
Set the data sampling frequency (in Hz):
sensor = new AmbientLightSensor({ frequency: 1 }); // Read once per second
Due to security reasons, browser implementations may limit sensor properties. For example, exceeding the frequency of the AmbientLightSensor in Chrome will trigger a console message due to reflected ambient light levels from a device’s screen potentially being exploited to determine pixel values.
2. Define Callback
Define a sensor callback function:
sensor.addEventListener('reading', listener);

function listener() {
  // Do something with the sensor data
}
3. Start
Start the sensor:
sensor.start();
4. Stop
Stop the sensor when done:
sensor.stop();
Gyroscope
The Gyroscope measures angular velocity around the device's X, Y, and Z axes in radians per second. Access readings via the x, y, and z properties:
if ('Gyroscope' in window) {
  let sensor = new Gyroscope();
  sensor.addEventListener('reading', function(e) {
    document.getElementById('status').innerHTML = 'x: ' + e.target.x + ' y: ' + e.target.y + ' z: ' + e.target.z;
  });
  sensor.start();
}
Accelerometer
The Accelerometer spec defines Accelerometer, LinearAccelerationSensor, and GravitySensor. Each provides data about accelerations on the device’s X, Y, and Z axes.
Accelerometer Sensor
The accelerometer provides acceleration data on the device’s X, Y, Z axes:
let sensor = new Accelerometer();
sensor.addEventListener('reading', function(e) {
  document.getElementById('status').innerHTML = 'x: ' + e.target.x + ' y: ' + e.target.y + ' z: ' + e.target.z;
  console.log(e.target);
});
sensor.start();
LinearAcceleration Sensor
A subclass of Accelerometer, it measures acceleration excluding gravity's contribution. It uses x, y, and z properties.
Gravity Sensor
Another Accelerometer subclass, representing acceleration due to gravity. Note: not currently available in Chrome.
Ambient Light Sensor
This sensor reports the environmental light level. Use cases: accessibility, smart lighting, camera settings. Environmental sensors (Ambient Light Sensor, Magnetometer) must be enabled in Chrome via chrome://flags.
The Ambient Light sensor reports light level in lux units (0 to ~30000). Create the sensor:
sensor = new AmbientLightSensor();
To read the value, check the illuminance property:
sensor.addEventListener('reading', function(e) {
  document.getElementById('status').innerHTML = e.target.illuminance;
});
A practical use-case is automatically adjusting screen brightness. While direct control isn't possible, the web browser can adjust page colors based on ambient light. The following example sets the page background color based on the light level:
sensor.addEventListener('reading', function(e) {
  document.getElementById('status').innerHTML = e.target.illuminance;
  console.log(e.target.illuminance);
  var lux = e.target.illuminance;
  console.log('L:', lux.map(0, 500, 0, 255));
  var val = lux.map(0, 500, 0, 255);
  document.body.style.backgroundColor = 'rgb(' + val + ',' + val + ',' + val + ')';
});
Alternatively, toggle a CSS class (light or dark) based on a light level threshold. On the Intel github pages, a Google Map switches to a dark theme when the ambient light drops below a specific level: https://intel.github.io/generic-sensor-demos/ambient-map/build/bundled/
Magnetometer
The Magnetometer sensor measures magnetic fields in three axes (x, y, z). Get the raw data via the x, y, and z properties:
var sensor = new Magnetometer();
sensor.addEventListener('reading', function(e) {
  document.getElementById('status').innerHTML = 'x: ' + e.target.x + ' y: ' + e.target.y + ' z: ' + e.target.z;
});
sensor.start();
With trigonometry on the x and y axes, you can compute a compass heading and display it:
var sensor = new Magnetometer();
sensor.addEventListener('reading', function(e) {
  let heading = Math.atan2(e.target.y, e.target.x) * (180 / Math.PI);
  document.getElementById('status').innerHTML = 'Heading in degrees: ' + heading;
});
sensor.start();
Based on the heading, a compass image or map could be rotated:
sensor.addEventListener('reading', function(e) {
  let heading = Math.atan2(e.target.y, e.target.x) * (180 / Math.PI);
  //Adjust heading
  heading = heading - 180;
  if (heading < 0) heading = 360 + heading;
  document.getElementById('status').innerHTML = 'Heading in degrees: ' + heading;
  compass.style.Transform = 'rotate(-' + heading + 'deg)';
});
sensor.start();
This approach has limitations, such as needing the device to be level as outlined in the Magnetometer interface description. Tilt compensation should be applied. We can surpass this by using the Orientation sensor, combining data from the accelerometer, magnetometer, and gyroscope.
Fusion Sensors: Combining Real Sensors
Fusion sensors are a key benefit of the Generic Sensor API. By combining data, new virtual sensors can be created, and the data can be combined and filtered, making it easier to use and be useful in a specific area.
We will improve on the Magnetometer compass example with the OrientationSensor.
The OrientationSensor
The OrientationSensor has two subclasses:
AbsoluteOrientationSensor: reports rotation of device in world coordinates, based on real accelerometer, gyroscope, and magnetometer sensorsRelativeOrientationSensor: reports rotation of device relative to a stationary coordinate system, based on real accelerometer and gyroscope sensors
Screen Coordinate Syncing
A valuable feature of the OrientationSensor is its automatic mapping of sensor readings to screen coordinates, accounting for screen orientation. Previously, developers needed to handle this mapping manually with JavaScript code. The referenceFrame parameter specifies whether readings should be relative to the device or screen orientation:
// This is the default (i.e. referenceFrame could be omitted here)
let sensor = new RelativeOrientationSensor({ referenceFrame: "device" });
// Use screen coordinate system
let sensor = new RelativeOrientationSensor({ referenceFrame: "screen" });
Using the OrientationSensor
Using these sensors follows the same pattern:
let sensor = new AbsoluteOrientationSensor({ frequency: 60 });
...
sensor.start();
let sensor = new RelativeOrientationSensor({ frequency: 60 });
...
sensor.start();
We can acquire the quaternion representing the device motion by reading the quaternion property of the sensor event:
e.target.quaternion


