Is WebGL Not Working? Simple Steps to Enable WebGL in Chrome
Want to experience stunning 3D graphics right in your Chrome browser? Enabling WebGL in Chrome unlocks a whole new level of immersive web content. This guide provides a step-by-step approach to get WebGL up and running, ensuring you can enjoy the latest games, visualizations, and interactive experiences.

Why Bother Enabling WebGL?
WebGL (Web Graphics Library) is your ticket to experiencing 3D graphics directly in your browser. This means richer, more interactive content, from stunning games to insightful data visualizations. Forget about plugins; WebGL in Chrome brings the 3D world to your fingertips. If WebGL not working, you're missing out!
Here's what you gain by enabling WebGL:
- Immersive 3D gaming experiences
- Interactive data visualization tools
- Access to cutting-edge web applications
- A richer, more engaging browsing experience
Step 1: Quick Check - Is WebGL Already Enabled?
Before diving in, let's see if WebGL is already active. It might be enabled by default!
- Type chrome://gpu into your Chrome address bar and press Enter.
- Look for the "WebGL" section. If it says "Hardware accelerated," you're already set! If not, proceed to the next steps.
Step 2: Chrome Update - Keeping it Current
An outdated browser can cause all sorts of issues. Make sure you're running the newest version of Chrome to avoid compatibility problems when enabling WebGL in Chrome:
- Click the three vertical dots (the menu) in the upper right corner.
- Go to "Help" and then "About Google Chrome." Chrome will automatically check for and install any available updates.
- Restart Chrome after the update finishes.
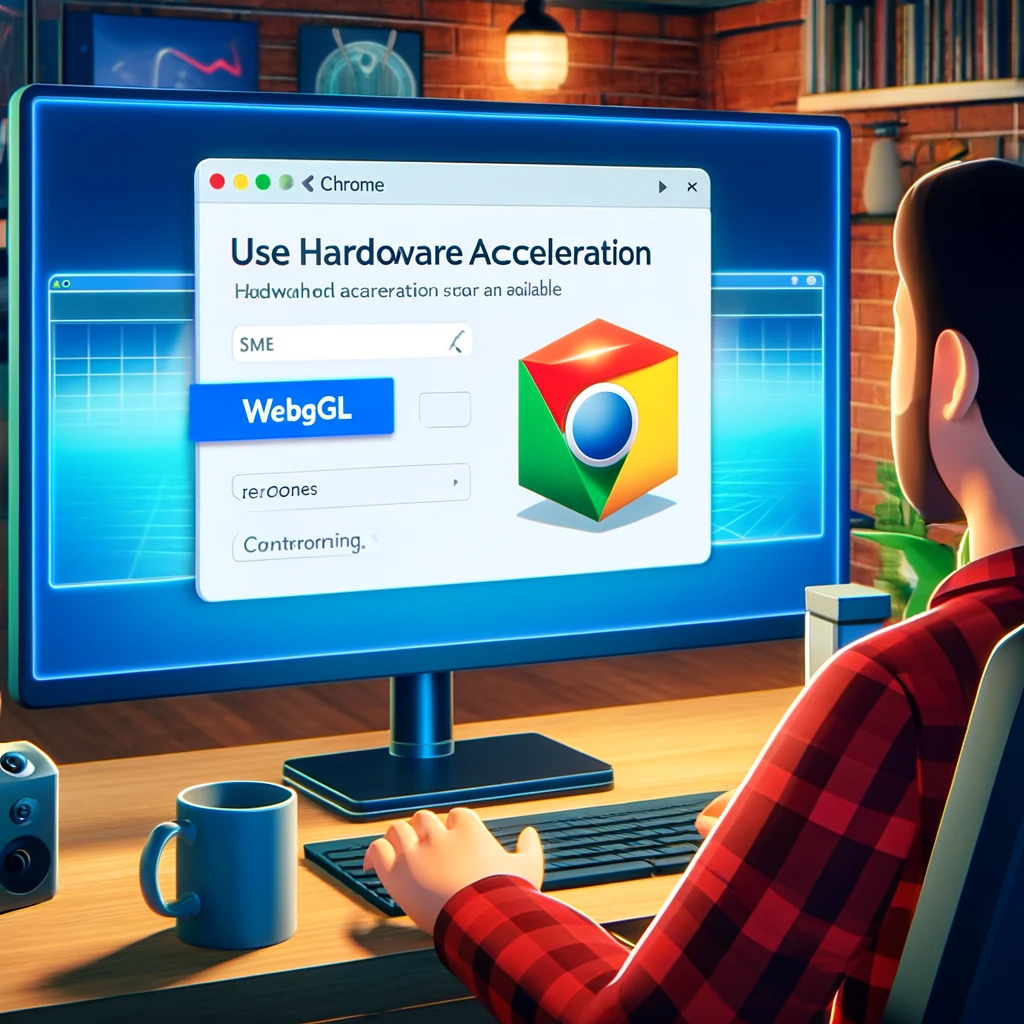
Step 3: Hardware Acceleration - The Key to Performance
WebGL needs hardware acceleration to function correctly. This setting tells Chrome to use your computer's graphics card for rendering:
- Click the three vertical dots (menu) in the upper right corner and select "Settings."
- Scroll down and click "Advanced" to reveal more options.
- Under the "System" section, ensure "Use hardware acceleration when available" is toggled on.
- Restart Chrome.
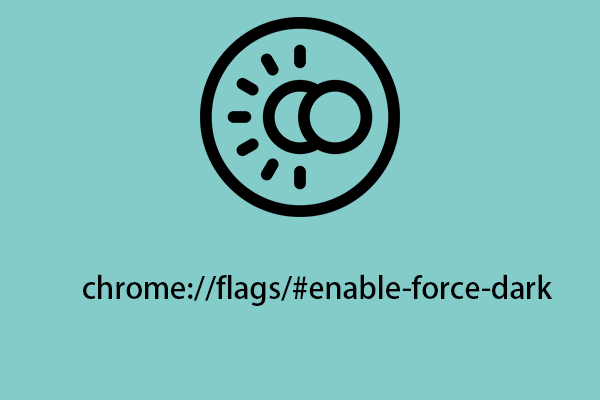
Step 4: Chrome Flags - Experimental Force Enable
Still no luck enabling WebGL in Chrome? Chrome Flags allow you to tweak experimental features, including WebGL.
- Type chrome://flags into the address bar and hit Enter.
- Search for "WebGL" using the search box at the top.
- Find the “WebGL Draft Extensions” and the “WebGL 2.0" options. Set both to "Enabled."
- Click the "Relaunch" button at the bottom to restart Chrome.
Step 5: Final Verification - Seeing the 3D Magic
Let's see if our efforts paid off, and you are finally able to enable WebGL successfully:
- Type https://get.webgl.org/ into your Chrome address bar and press Enter.
- If WebGL is enabled, you'll see a spinning cube. Congratulations! If not, double-check the previous steps or consult the troubleshooting tips below.
Troubleshooting: WebGL Still Not Working?
Experiencing issues? Here are a few things to try:
- Update Graphics Drivers: Outdated drivers are a common culprit. Visit your graphics card manufacturer's website (Nvidia, AMD, Intel) to download the latest drivers.
- Disable Conflicting Extensions: Some Chrome extensions can interfere with WebGL. Try disabling them temporarily to see if that resolves the issue.
- Check System Requirements: Ensure your computer meets the minimum requirements for WebGL. Older hardware may not be compatible.
Enjoy Your Enhanced Web Experience
Enabling WebGL in Chrome opens up a world of possibilities, from immersive gaming to interactive data visualizations. By following these steps, you'll be well on your way to experiencing the web in a whole new dimension! Now that you know how to solve the WebGL not working issue, you can enjoy all the latest cutting-edge web technologies.