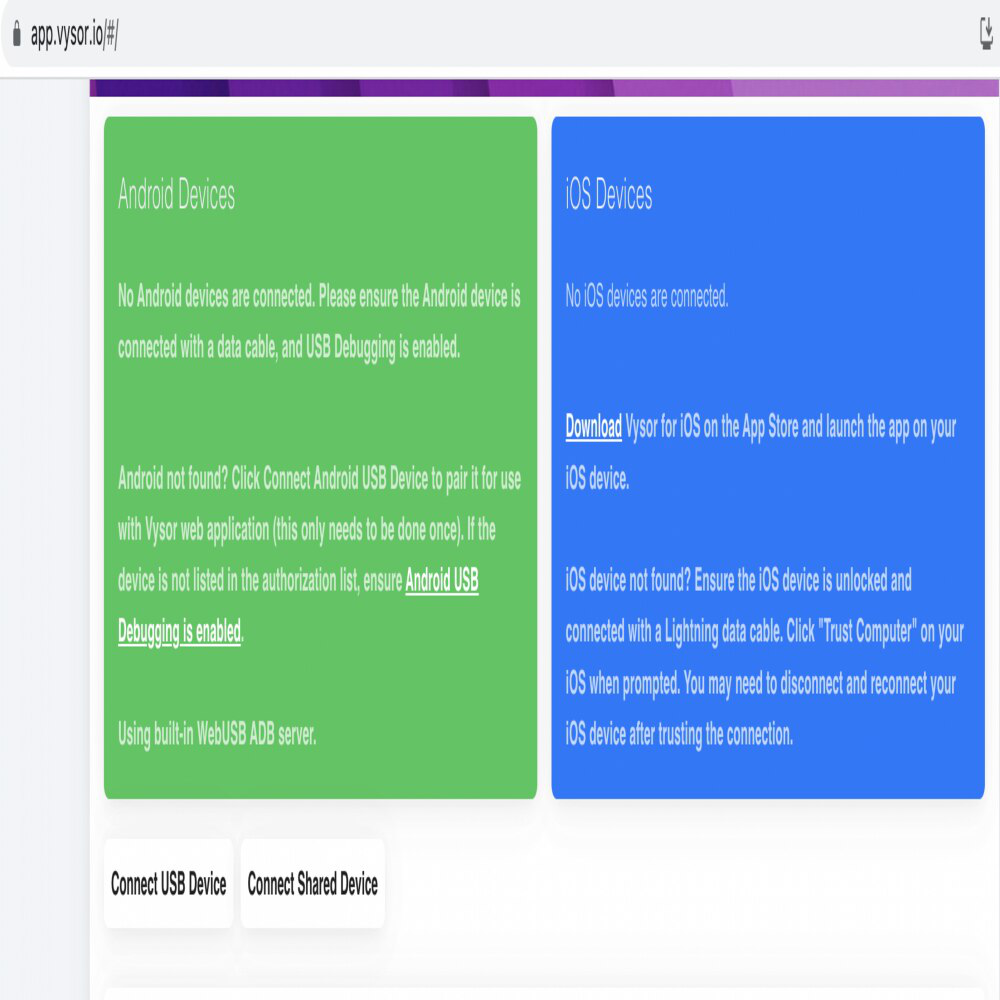
Enable WebGL in Chrome: A Step-by-Step Guide for Optimal Graphics
Want to experience richer, more immersive graphics in your Chrome browser? This guide shows you exactly how to enable WebGL on Chrome for stunning 2D and 3D visuals. Learn to activate hardware acceleration and troubleshoot common WebGL issues, including solutions for "WebGL not supported" errors.
What is WebGL and Why Enable It?
WebGL (Web Graphics Library) is a JavaScript API that renders 2D and 3D graphics within any compatible web browser without the use of plug-ins. This allows for more dynamic and interactive web content, from games to complex data visualizations. Enabling WebGL in Chrome harnesses your computer's GPU for faster and smoother performance.
- Enhanced Visuals: Experience richer graphics and animations.
- Improved Performance: Let your GPU handle graphics processing.
- Interactive Content: Enjoy advanced web applications and games.

Step-by-Step: How to Enable WebGL on Chrome
Follow these steps to ensure WebGL is properly enabled in your Google Chrome browser.
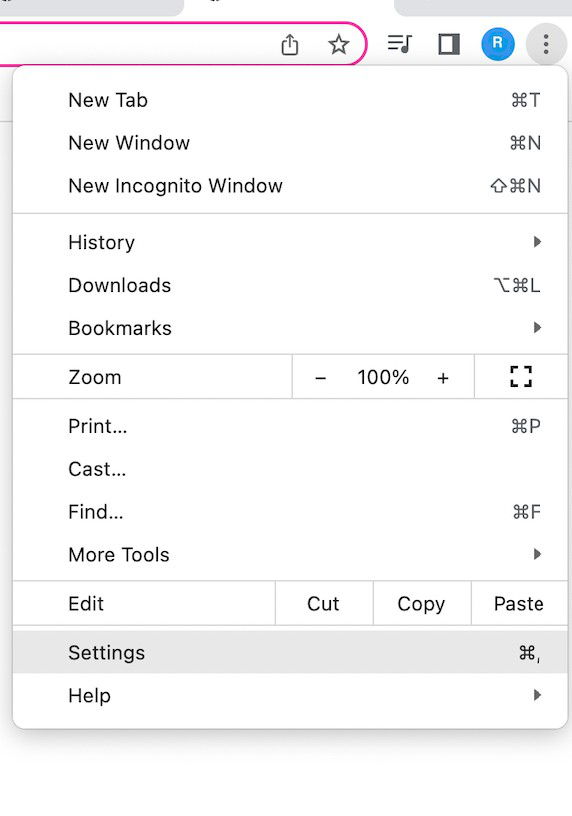
Step 1: Access Chrome Settings
Start by opening Chrome's settings menu.
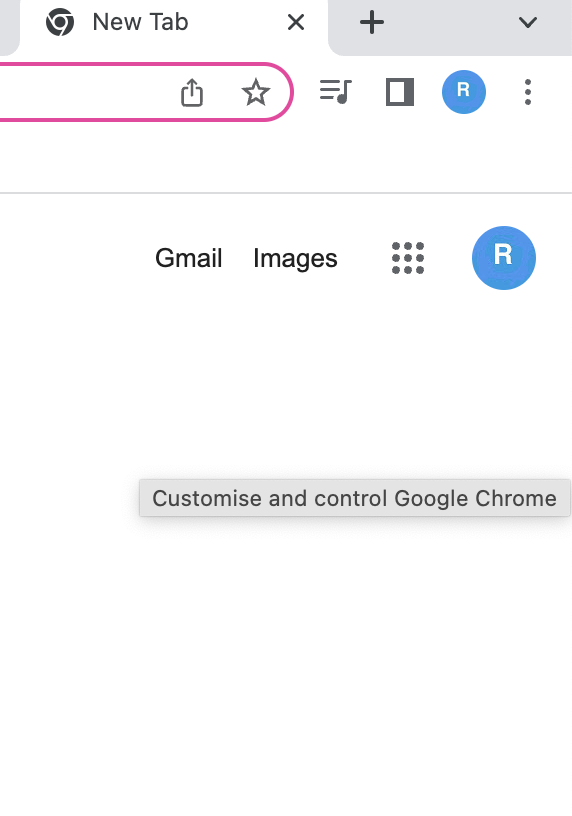
- Click the three vertical dots located in the top right corner of your Chrome browser.
- Scroll down and click on "Settings".
Step 2: Navigate To System Settings
Locate the "System" section.
- Scroll down to the "Advanced" section at the bottom of the Settings page and click on it.
- Find and click on "System".
Step 3: Enable Hardware Acceleration
Ensure hardware acceleration is turned on.
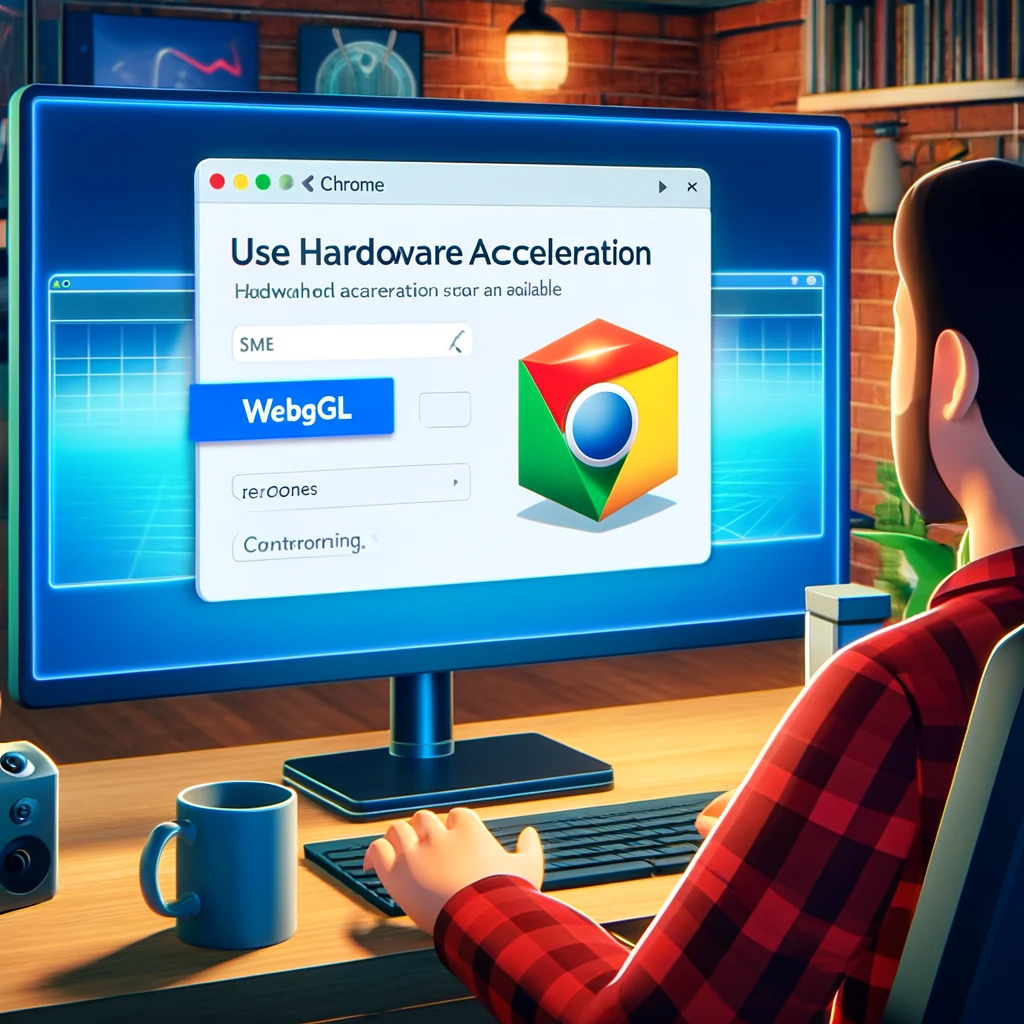
- In the "System" section, make sure the option "Use hardware acceleration when available" is enabled (the toggle should be blue).
- If it's already enabled, try toggling it off and on again.

Step 4: Check Chrome Flags for WebGL
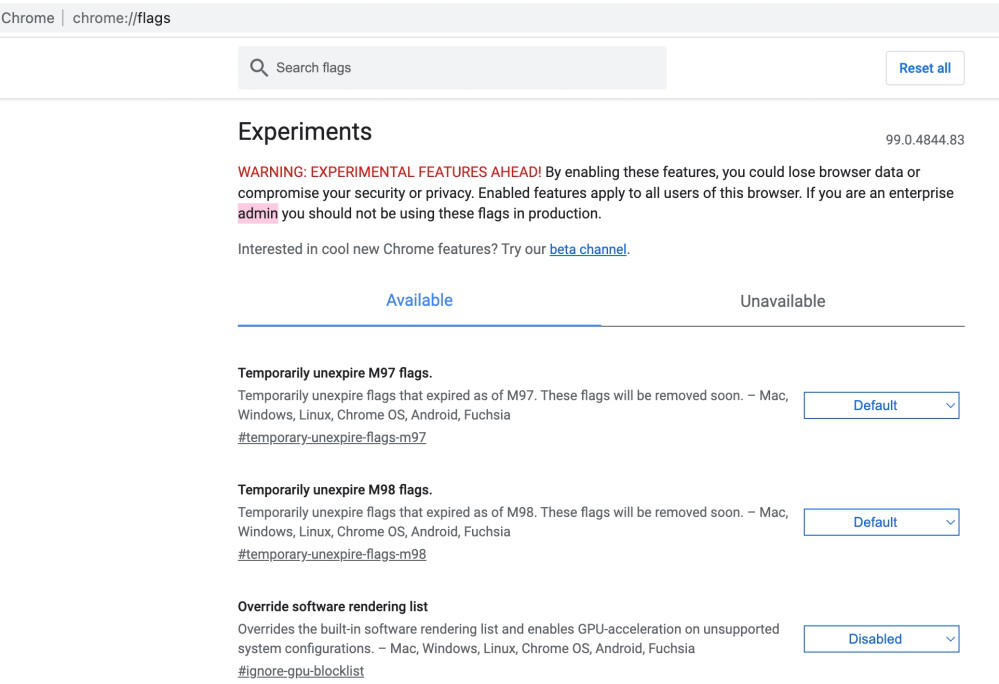
Chrome Flags allow you to enable experimental features.
- Type
chrome://flags/in your address bar and press Enter.

Step 5: Search for WebGL Flags
Use the search bar to find WebGL-related flags.
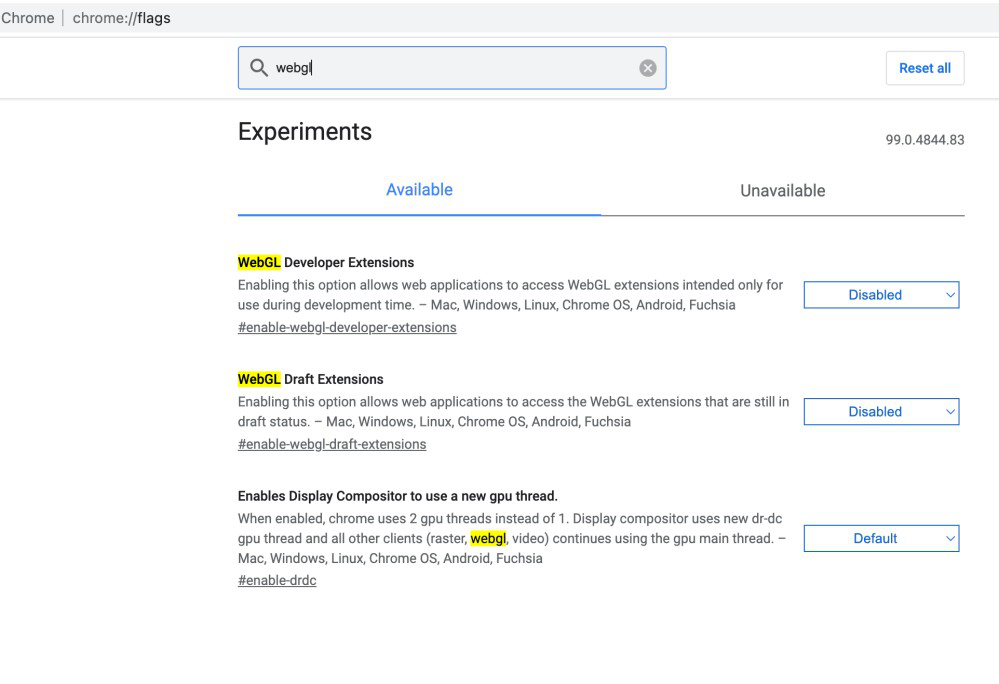
- In the search bar, type "WebGL".
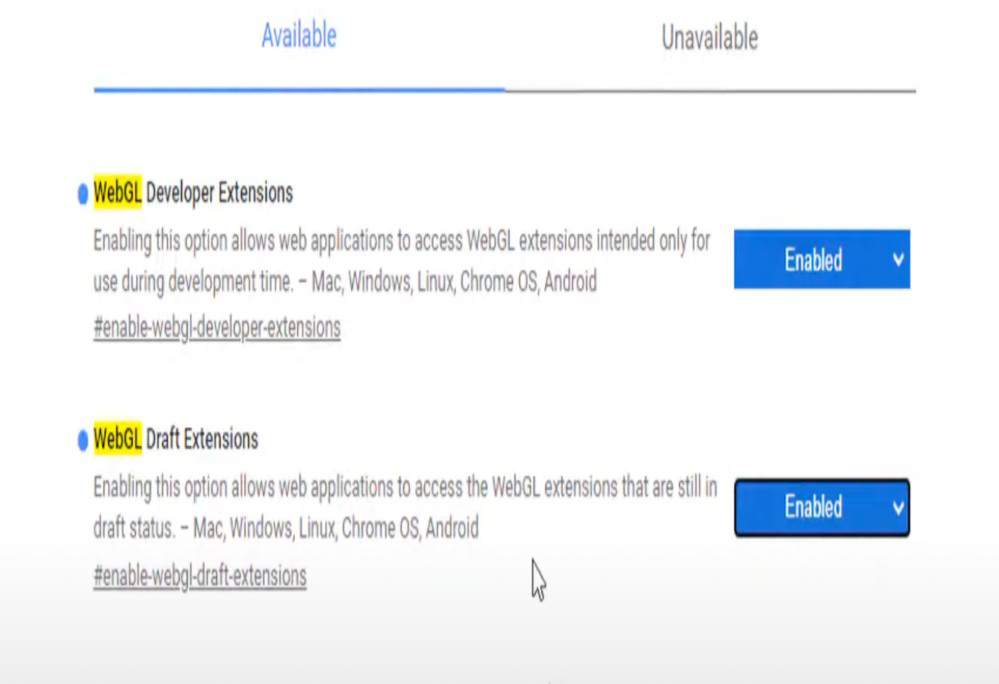
- Look for "WebGL Draft Extensions".
Step 6: Enable WebGL Draft Extensions
Activate the WebGL draft extensions flag.
- If the "WebGL Draft Extensions" flag is set to "Disabled," change it to "Enabled".
- Click the "Relaunch" button that appears at the bottom of the screen to restart Chrome and apply the changes.
Troubleshooting: Fixing "WebGL Not Supported" Errors
Even after enabling the settings above, you may still encounter the "WebGL not supported" error. Here are some additional steps:
- Update Graphics Drivers: Outdated drivers are a common cause. Visit your graphics card manufacturer's website (NVIDIA, AMD, Intel) and download the latest drivers.
- Check for Conflicting Software: Certain software may interfere with WebGL. Try disabling browser extensions or other applications to see if the issue resolves.
- Reset Chrome Settings: As a last resort, reset Chrome to its default settings. Go to
chrome://settings/resetand click "Restore settings to their original defaults."
Verify WebGL is Enabled
To ensure WebGL is working correctly, visit a WebGL test website. Here are a couple of options:
These sites will indicate whether WebGL is enabled and functioning properly in your browser. By following these steps, you can confidently enable WebGL on Chrome and enjoy a more visually rich and interactive web experience.


