How to Enable WebGL 2.0 in Chrome: A Simple Step-by-Step Guide
Want to experience smoother graphics and stunning visuals in your Chrome browser? Enabling WebGL 2.0 can significantly enhance your web browsing experience, especially when dealing with games, 3D models, and interactive graphics. This guide will show you exactly how to enable WebGL in Chrome, making sure you get the most out of your browser.
What is WebGL and Why Enable It?
WebGL (Web Graphics Library) is a JavaScript API that allows websites to display 2D and 3D graphics without needing extra plugins. Think of it as a built-in graphics card for your browser! By default, Chrome usually has WebGL enabled, but sometimes it might be disabled due to security concerns or driver issues. Enabling WebGL can:
- Improve the performance of web-based games.
- Allow you to view intricate 3D models directly in your browser.
- Enhance interactive graphics on websites.
Essentially, if you find websites aren't displaying graphics correctly or running slowly, it’s worth making sure WebGL is enabled.
How to Check if WebGL is Already Enabled
Before we dive into enabling it, let’s quickly check if WebGL is already active in your Chrome browser. It takes just a few seconds:
- Open a new tab in Chrome.
- Type
chrome://gpuinto the address bar and press Enter. - Look for "WebGL" or "WebGL2" in the "Graphics Feature Status" section.
If it says "Hardware accelerated" next to WebGL, you're all set! If it says something else, like "Software only" or "Disabled," continue to the next section.
Step-by-Step: Enable WebGL 2.0 in Chrome
Here's how to enable WebGL 2.0 in Chrome:
-
Access Chrome Flags: In the Chrome address bar, type
chrome://flagsand press Enter. This will open Chrome's experimental features page. -
Search for WebGL: In the search bar at the top of the
chrome://flagspage, type "WebGL". -
Enable WebGL 2.0: Look for the "WebGL 2.0 Compute" flag. If it's set to "Disabled," click the dropdown menu and select "Enabled".
-
Relaunch Chrome: At the bottom of the page, you'll see a "Relaunch" button. Click it to restart Chrome and apply the changes.
Once Chrome restarts, WebGL 2.0 should be enabled. You can verify this by returning to the chrome://gpu page and checking the "Graphics Feature Status."
Troubleshooting: WebGL Still Not Working?
Even after enabling the flag, WebGL might not work correctly. Here are some common troubleshooting steps:
- Update Your Graphics Drivers: Outdated graphics drivers are a frequent cause of WebGL issues. Visit your graphics card manufacturer's website (Nvidia, AMD, Intel) to download and install the latest drivers.
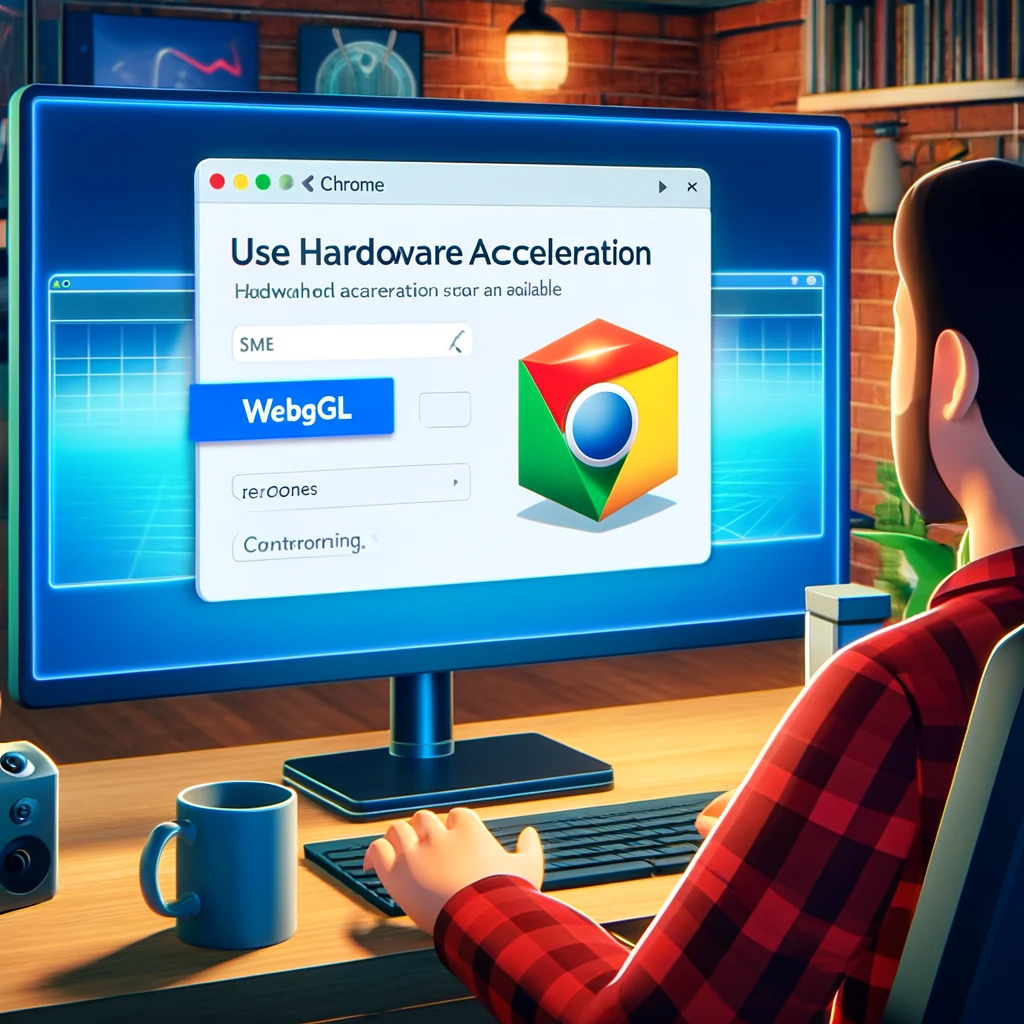
- Disable Hardware Acceleration (Then Re-enable): Go to Chrome Settings > Advanced > System and toggle "Use hardware acceleration when available" off, then back on. This can sometimes reset the configuration.
- Check for Conflicting Extensions: Some Chrome extensions can interfere with WebGL. Try disabling your extensions one by one to see if any are causing the problem.
- Reset Chrome Settings: As a last resort, you can reset Chrome to its default settings. This will disable all extensions and clear temporary data, which might resolve the issue. Find this in Chrome Settings > Advanced > Reset and clean up > Restore settings to their original defaults.
Enjoy Enhanced Graphics!
By following these steps, you should be able to successfully enable WebGL 2.0 in Chrome and enjoy smoother, more visually appealing web experiences. Remember to regularly update your graphics drivers and keep Chrome up-to-date for optimal performance. Now, get ready to experience the web with a whole new level of graphical fidelity!