Optimize Your Chromebook's Performance: A Guide to Hyper-Threading
Chromebooks are known for their speed and simplicity, but did you know you can fine-tune their performance even further? One way to do this is by adjusting the Hyper-Threading setting. This article will guide you through understanding and managing Hyper-Threading on your Chromebook to achieve optimal performance.
Understanding Hyper-Threading on Chromebooks
Hyper-Threading is a technology that allows a single physical processor core to act as two virtual cores. This can potentially improve the performance of applications and games by allowing the processor to handle multiple tasks simultaneously.
However, enabling Hyper-Threading can also introduce security vulnerabilities. To learn more about the potential risks associated with Hyper-Threading (specifically MDS vulnerabilities) on ChromeOS, refer to the Chromium project page. Because of these potential risks, Hyper-Threading is disabled by default on Chromebooks.
Checking for Hyper-Threading Capabilities
The availability and benefits of Hyper-Threading depend on your Chromebook's processor. Not all Chromebooks support Hyper-Threading. If your device supports it, you'll find the option to enable or disable it through Chrome flags, as described below.
How to Enable Hyper-Threading on Your Chromebook
If you're comfortable with the potential security risks and want to maximize performance, here's how to enable Hyper-Threading:
Prerequisites: Ensure your Chromebook is running ChromeOS version 74 or later. You can find instructions on how to update your Chromebook's operating system
Steps:
- Open Chrome: Launch the Chrome browser on your Chromebook.
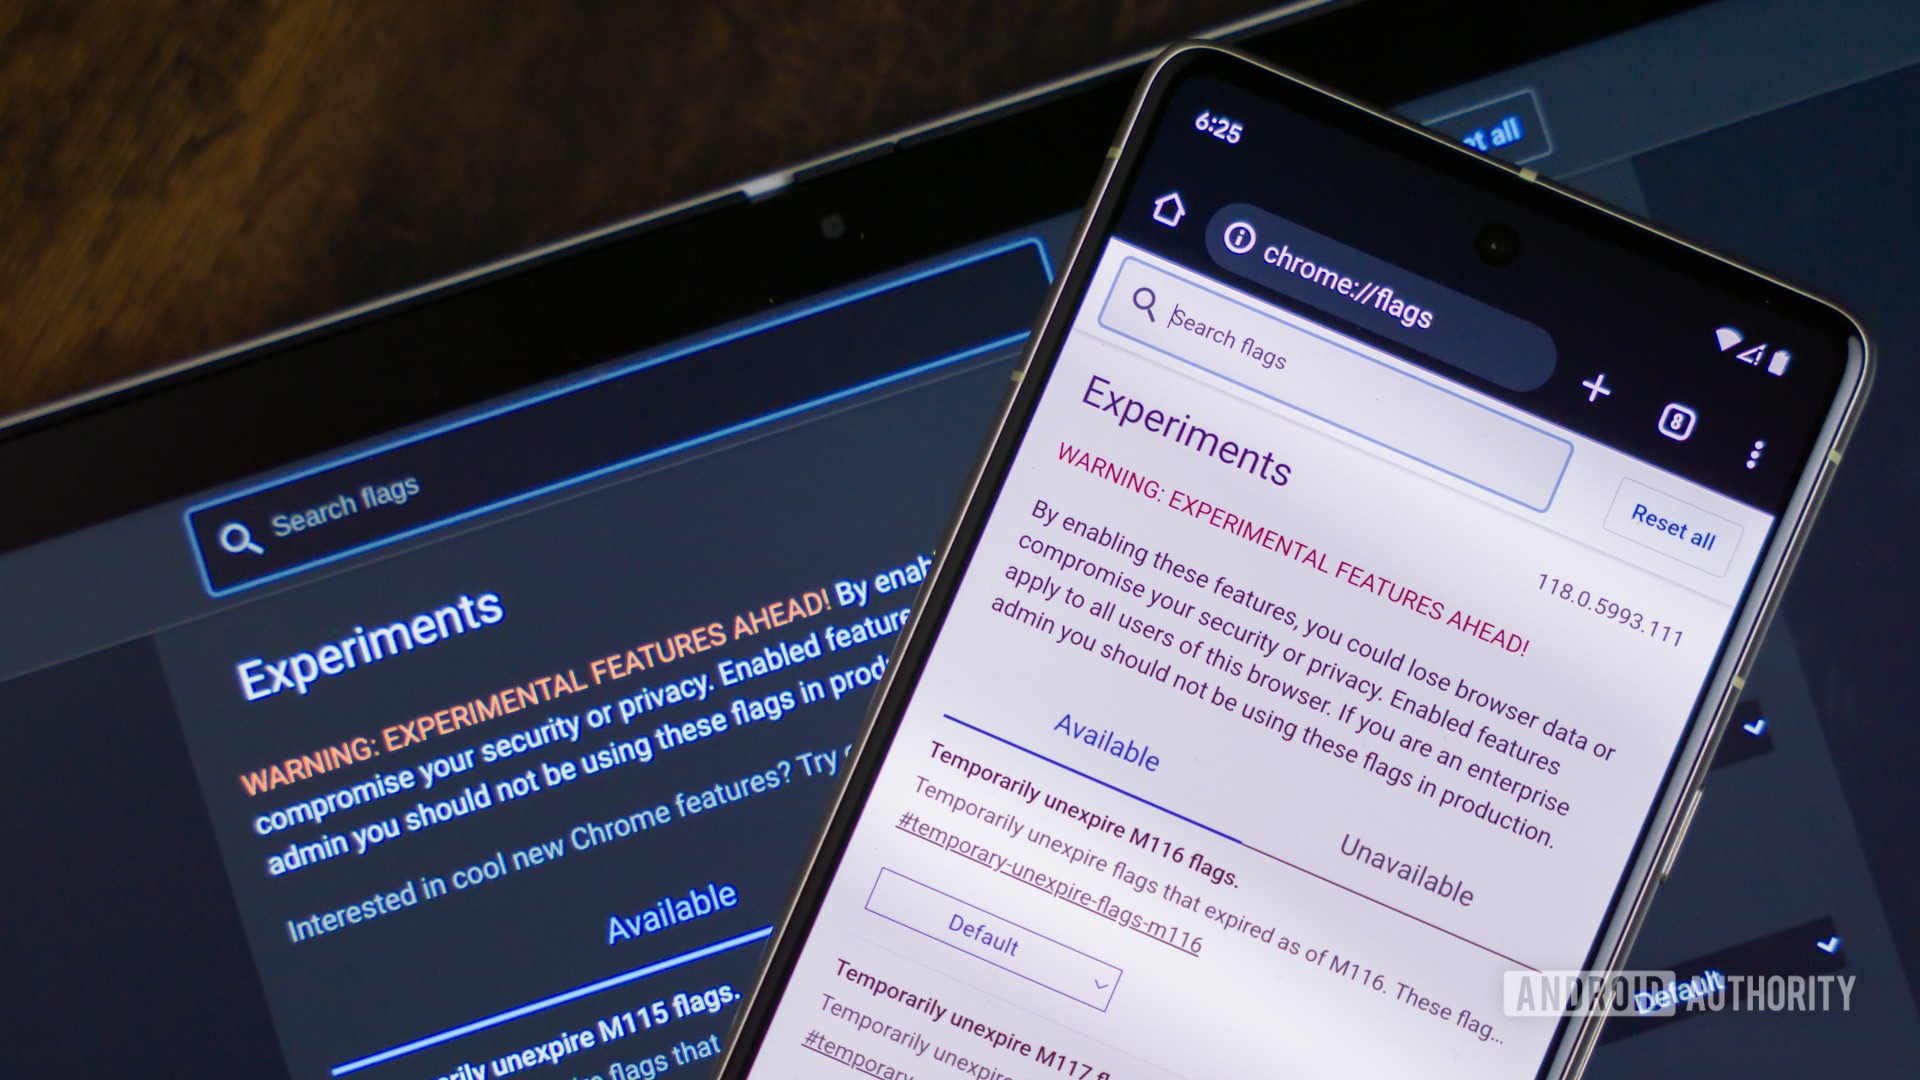
- Access Chrome Flags: In the address bar, type
chrome://flags#scheduler-configurationand press Enter. This will take you to the Chrome Flags page with the "Scheduler Configuration" option highlighted. - Enable Hyper-Threading: Next to "Scheduler Configuration," select "Enables Hyper-Threading on relevant CPUs" from the dropdown menu.
- Restart Your Chromebook: Click the "Restart" button that appears at the bottom of the page. This will restart your Chromebook and apply the changes.
Once your Chromebook restarts, Hyper-Threading will be enabled, potentially leading to improved performance in some applications and games.
How to Disable Hyper-Threading on Your Chromebook
If you're concerned about the security risks associated with Hyper-Threading or notice performance issues after enabling it, you can easily disable it:
Steps:
- Open Chrome: Launch the Chrome browser.
- Access Chrome Flags: In the address bar, type
chrome://flags#scheduler-configurationand press Enter. - Disable Hyper-Threading: Next to "Scheduler Configuration," select "Disables Hyper-Threading on relevant CPUs" from the dropdown menu
- Restart Your Chromebook: Click the "Restart" button to restart your Chromebook.
After restarting, Hyper-Threading will be disabled, and your Chromebook will run with the default settings.
Reverting to Default Settings
If you're unsure whether to enable or disable Hyper-Threading, you can always revert to the default setting:
Steps:
- Open Chrome: Launch the Chrome browser.
- Access Chrome Flags: In the address bar, type
chrome://flags#scheduler-configurationand press Enter. - Revert to Default: Next to "Scheduler Configuration," select "Default" from the dropdown menu.
- Restart Your Chromebook: Click the "Restart" button to restart your Chromebook.
Monitoring Performance and Security
After changing the Hyper-Threading setting, monitor your Chromebook's performance and remain aware of any potential security risks. If you experience unexpected behavior or security concerns, consider disabling Hyper-Threading.
Need More Help?
If you are facing issues with your Chromebook, consider visiting the ChromeOS Help Community